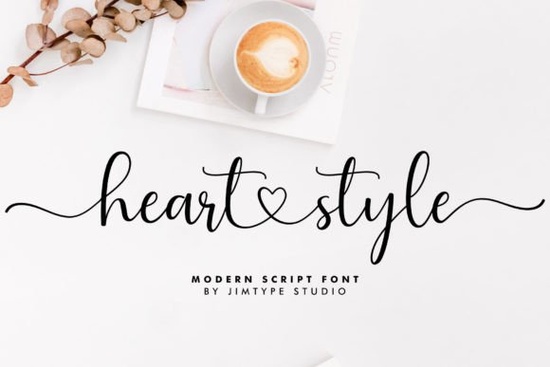
Choosing the right typography sets the tone for any romantic project. If you are working on wedding stationery or a brand identity focused on love and connection, the Heart Style Font provides an elegant solution. This script typeface blends smooth, flowing letters with a delicate aesthetic. Crafters, small business owners, and graphic designers often choose this style because it reads clearly while maintaining a handmade, personal feel. You can check out the full typography details here to see the complete character set and available symbols.
How can I use this script for wedding invitations?
Wedding suites require lettering that feels special but remains highly legible for guests. You can apply this typeface to the names of the couple on the main invitation. Since the letters connect naturally, it mimics traditional calligraphy without the time investment of hand-drawing each word. This makes it an excellent choice for busy designers handling multiple client orders.
It also works well for secondary paper goods like seating charts, welcome signs, and menu headers. When printing on textured paper like cotton or linen, the smooth curves stand out beautifully. For digital invitations, the script renders crisply on screens, especially when paired with a muted, romantic color palette of dusty rose, sage green, or soft ivory. For bridesmaids' proposal cards, pairing this romantic lettering with a simple watercolor background creates a heartfelt message that feels custom-made.
Does this typeface work for print-on-demand branding?
Print-on-demand sellers need versatile assets that appeal to specific niches. The romantic nature of this lettering makes it ideal for Valentine's Day apparel, anniversary mugs, and custom jewelry boxes. Because the strokes have consistent thickness, it translates well to direct-to-garment printing and embroidery.
When designing a logo for a boutique, a bakery, or a florist, you can use this script for the primary business name. Just ensure you leave enough negative space around the letters so the design scales down well for social media profile pictures or small product tags. It brings a refined essence to commercial goods without looking overly formal, helping small businesses establish a memorable visual identity quickly.
What are good font pairings for romantic designs?
A common mistake in design is using too many script typefaces together. To keep your layouts clean, pair your main romantic script with a basic sans-serif or a clean serif for body text. However, mixing different moods can work if done intentionally across a larger brand kit.
If you want to add short, playful quotes to a greeting card, you might try adding the Cherry Font for contrast. You can also explore more playful script options to balance the elegance of your primary text.
For bakery branding or sweet-themed events, combining your main typeface with the Biscuit Font gives a warm, inviting look. See how this softer alternative handles rounded, friendly letters.
When you need something slightly more structured for a masculine or vintage touch, the Daddy Font offers a great balance. Review these bolder lettering options for your next rustic project.
Finally, for retro or Y2K-inspired merchandise, you could incorporate the Barbie Font alongside your romantic elements. Take a look at these fun retro scripts for colorful inspiration.
How do I prepare the file for cutting machines?
Crafters using Cricut or Silhouette machines need to ensure their text is ready for vinyl cutting. After typing your phrase in software like Cricut Design Space or Silhouette Studio, always convert the text to outlines or paths. This step prevents the cutting software from substituting the letters if the file is opened on a computer that lacks the original installation.
Welding is another necessary step for script typography. If you want a word to cut as one continuous piece of vinyl, you must weld the overlapping letters together in your design software. This keeps the delicate connections intact and prevents the machine from cutting through the loops, saving you time during the weeding process.
What are the final steps before starting a project?
Before you begin designing, make sure you have the right files and settings ready to go. Follow this quick checklist to ensure your typography looks professional and functions correctly across all mediums:
- Install the correct file: Use the OTF file for design programs like Adobe Illustrator, and the TTF file for basic word processors or Cricut software.
- Adjust the kerning: Type your text and manually adjust the letter spacing if the connecting strokes look disjointed or overlap awkwardly.
- Convert to shapes: Always turn your text into vector outlines before sending the final artwork to a professional printer or a cutting machine.
- Test the scale: Print a small test page to ensure the thin strokes remain visible and do not break apart when scaled down for business cards or tags.
- Check licensing: Verify your commercial license terms if you plan to sell physical products or digital templates featuring the lettering.
 Daddy Font: Creative Typography Ideas & Styles
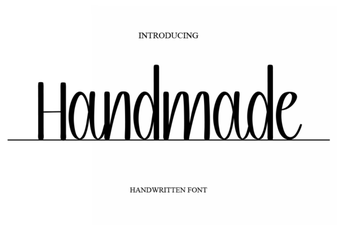 Handmade Fonts for Creative Design Projects
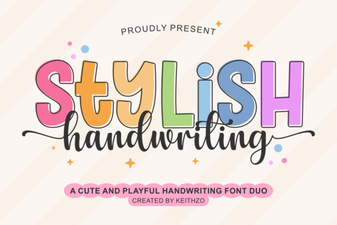 Creative Handwriting Fonts for Modern Design Projects
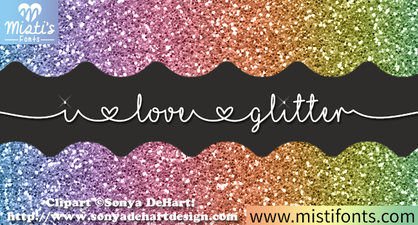 Sparkle Up Your Designs with Glitter Fonts
 Cherry Fonts: Creative Typography for Modern Projects
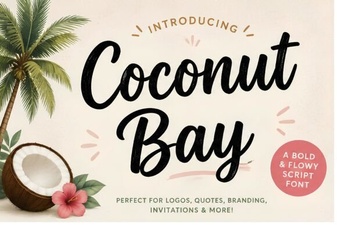 Coconut Bay Font: Creative Tropical Design Ideas